It’s been almost four weeks since we moved in. I keep saying to myself, “I should do one last blog post once (insert task here) is finished.” Well, just as the task I was thinking of is almost finished, there is either a set back or another task pops up. I don’t know if this house will ever be finished. Yes, I know it will be someday. But the past few weeks have been frustrating. I’ll hit upon the major frustrations further down.
But first, this is how the outside of the house looks now. Landscaping down here consists mostly of rocks. Lots and lots of rocks.
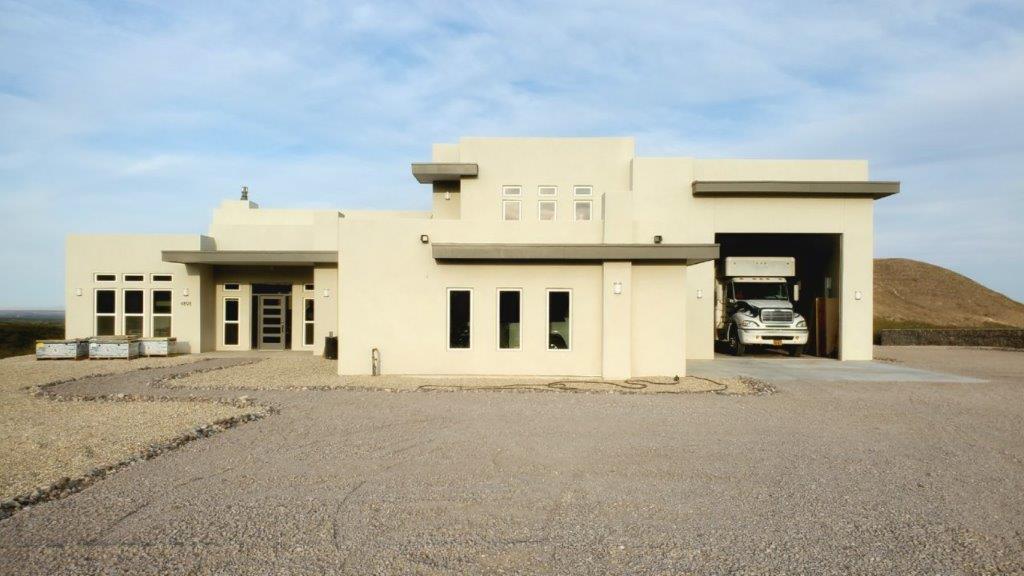
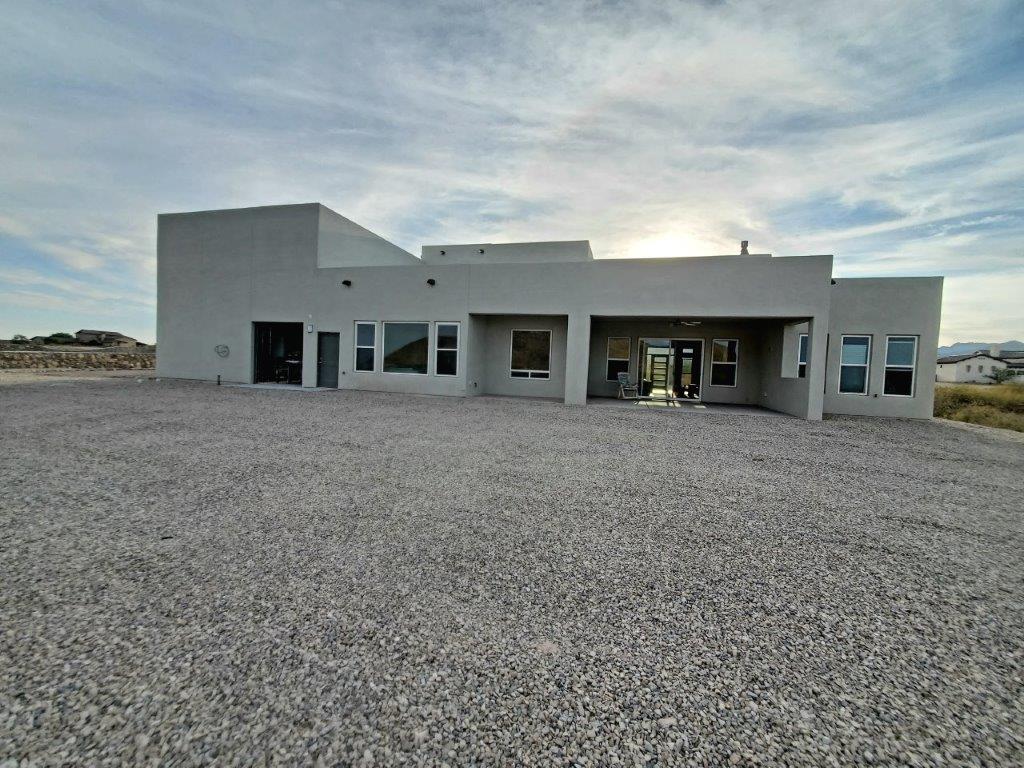
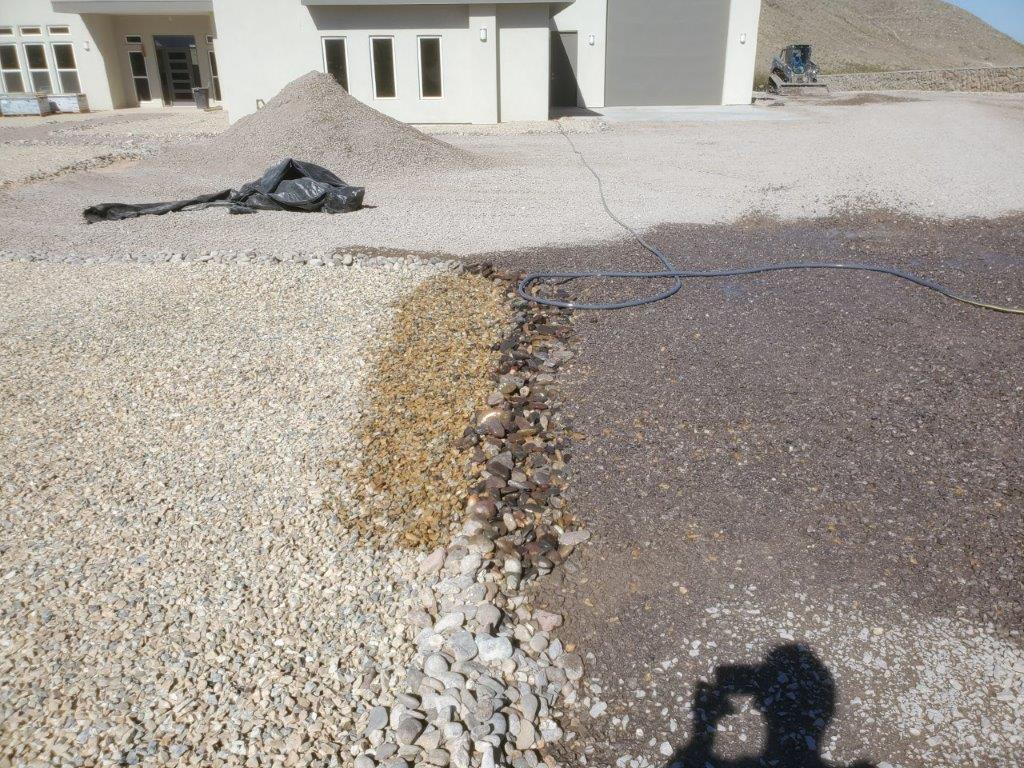
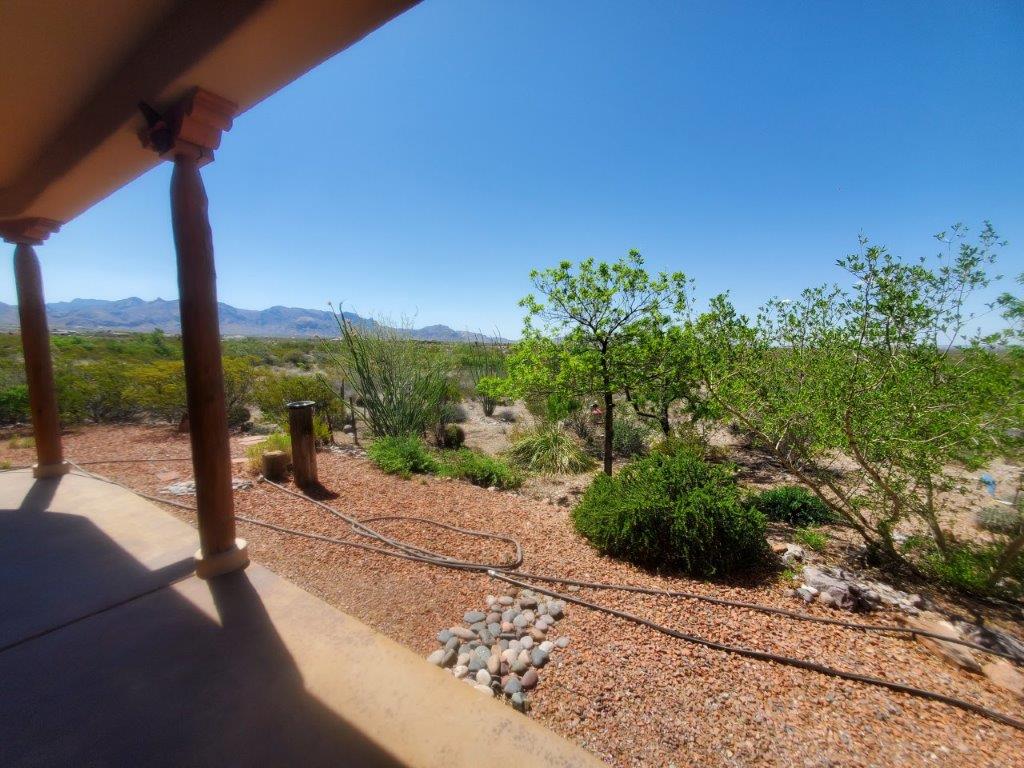
Landscaping will wait until the fall. We want to go with a xeriscape yard (no irrigation). It can be done. The picture below is the backyard of one of my quilting friends. None of this is irrigated.
Inside the house, we got some “stuff” set up.
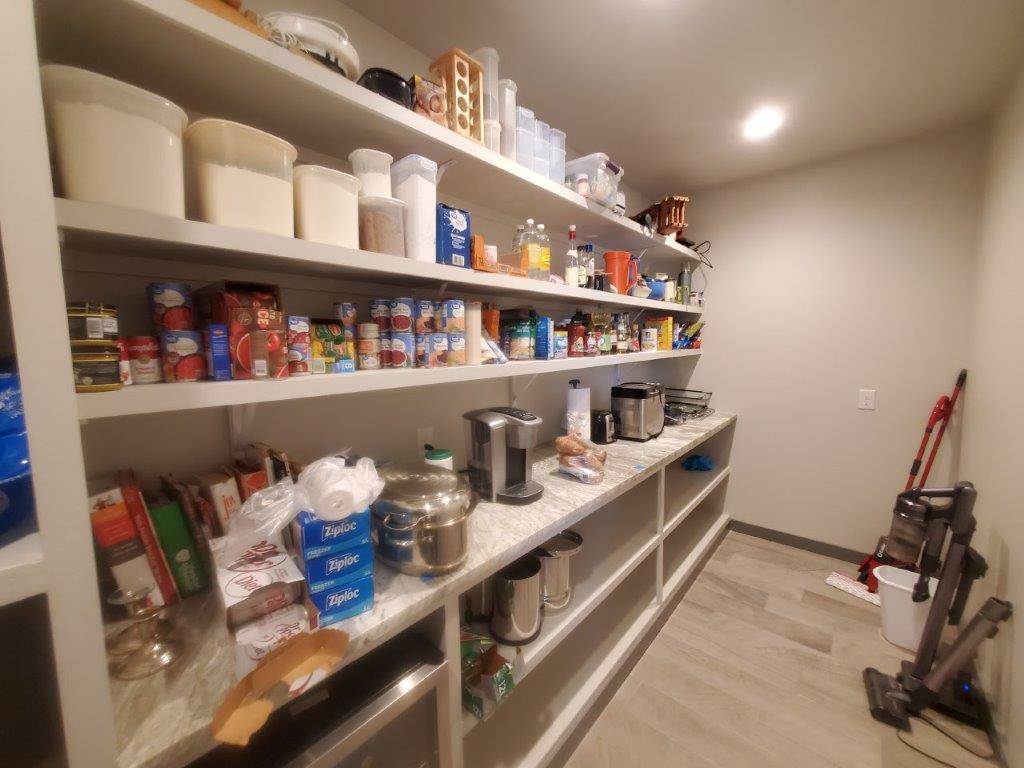
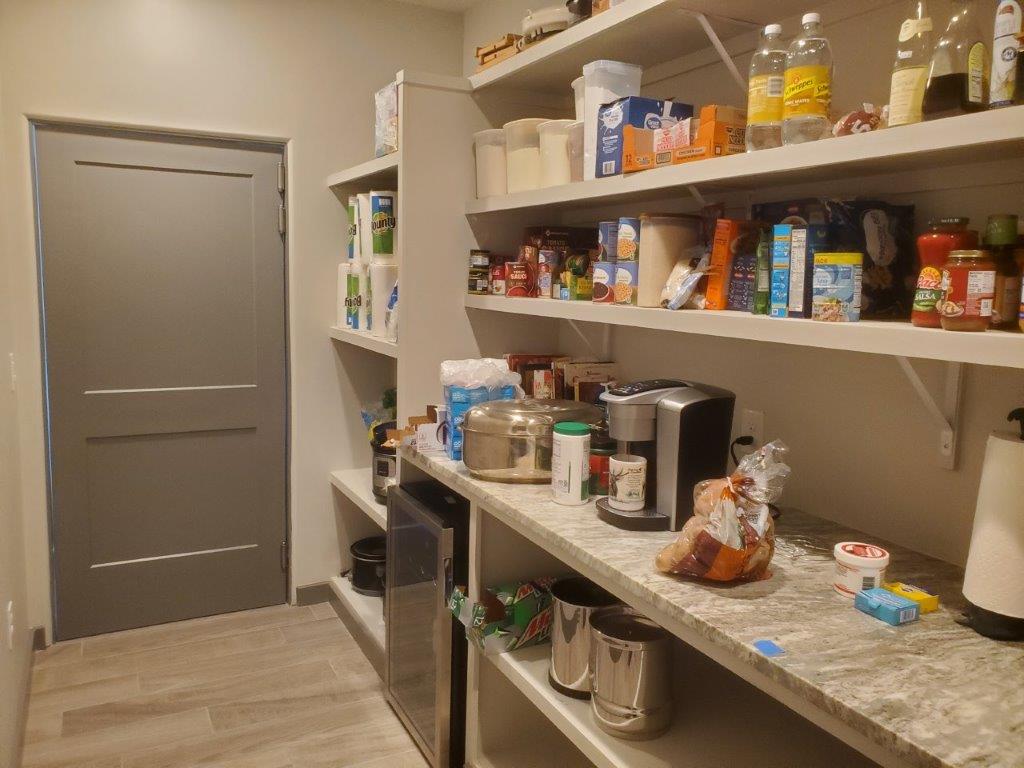
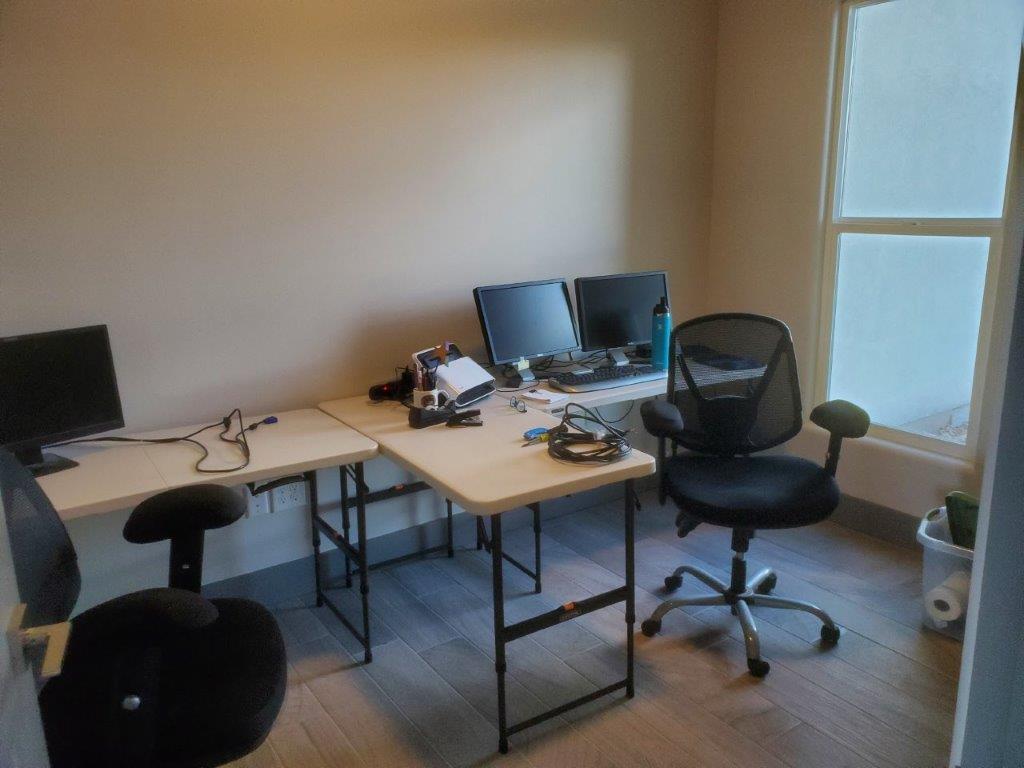
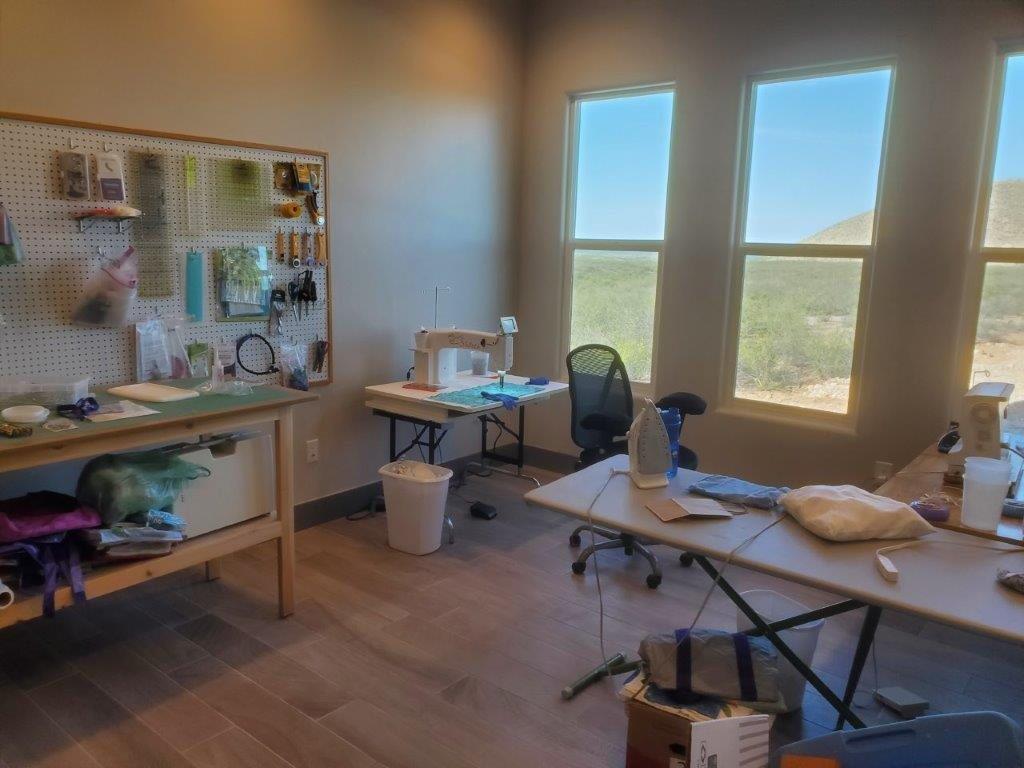
The office is set…for the time being. We got quotes on office furniture. OUCH! For now, three folding tables from Home Depot are doing the trick. It’s a heck of a lot cheaper! We’ll get furniture later.
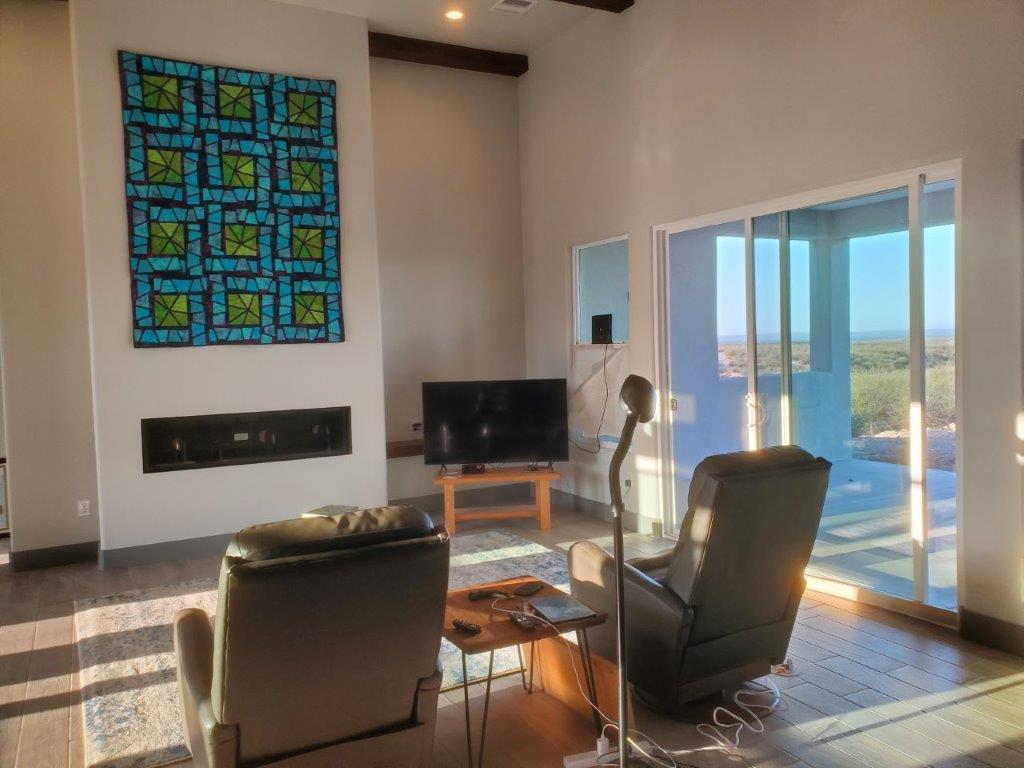
The great room is like an echo chamber since we have very little furniture and no window treatments. So we made an attempt to kill the noise by hanging a quilt over the fireplace.
I also got all my sewing boxes unpacked. Not necessarily put away, but unpacked.
On to the unfinished items….
It has again been a “two steps forward, one step back” scenario.
Water heater
We have a tankless natural gas water heater. Looks nice, doesn’t it.
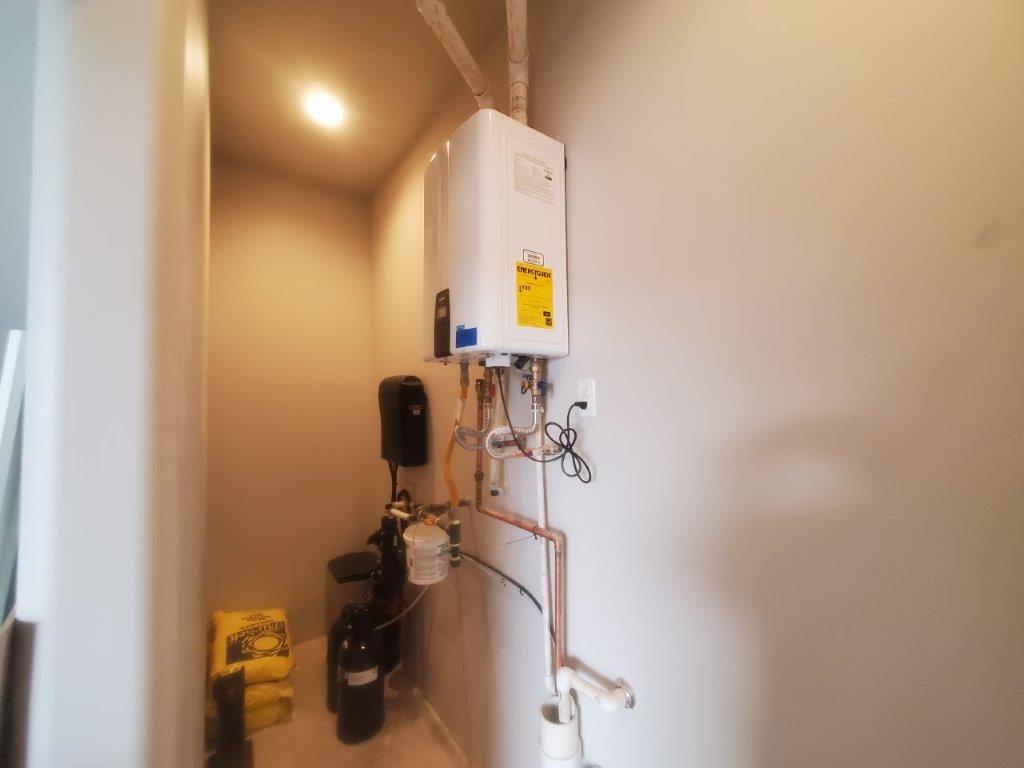
Every time we pulled hot water, we were hearing gurgling in the master bathroom. I thought the hot water pipes were very noisy. Then the water heater started failing (as in shutting down) and displaying an error code on the screen on the unit. What the heck? We had the plumber telling us one thing, the company rep telling us another, YouTube videos telling us another thing.
After a few weeks, the cause of the shutdowns and gurgling was found. Remember those PVC pipes? One of them is for the exhaust gases from the gas combustion which heats up the water. The pipe goes up, then across the ceiling of the master bathroom, then up again to exit the roof. The horizontal portion that goes across the master bathroom ceiling was supposed to be sloped upward. It wasn’t…it was sloped downward. The condensate (i.e. water) in the exhaust gas was accumulating in the pipe restricting the flow of the exhaust gas…hence the gurgling we would hear. The plumber should have known better.
The solution? Fix the pipe in the master bathroom ceiling.
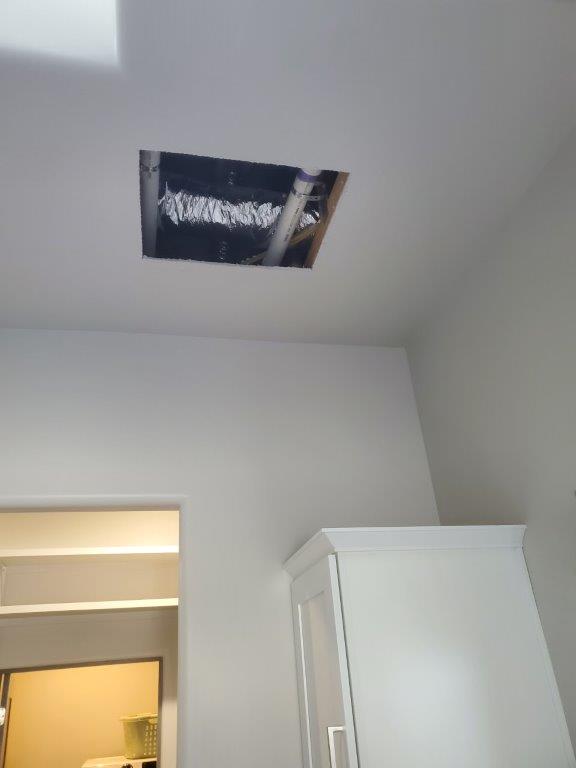
Yup, that’s a hole up there in my ceiling. The plumber had to cut through the drywall. The straps holding the PVC pipe were removed and the pipe adjusted to the right angle. Things work properly now, but I’m still waiting for the drywall patch/paint in my ceiling to be finished.
Fireplace
You think that was bad, wait until you hear our fireplace story.
The company that installed the fireplace came out to hook it up. The installer was puzzled because he had no power or natural gas at the fireplace. We knew there was power and natural gas at the fireplace, I have pictures of it!
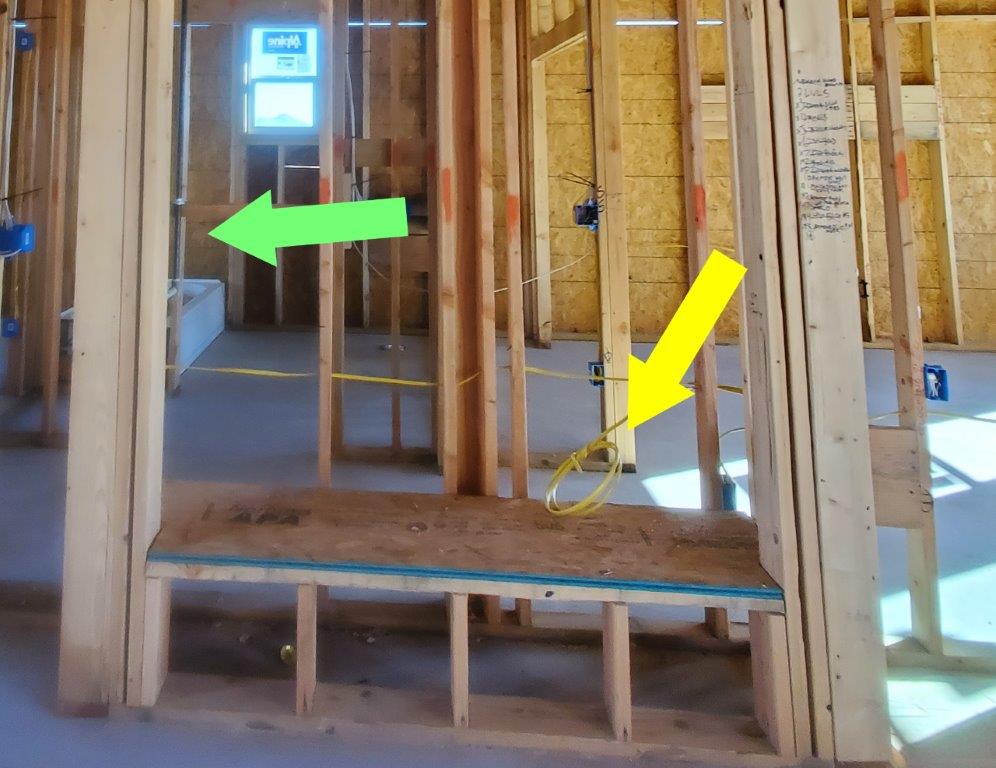
The fireplace was NEVER HOOKED UP before the drywall went up. <insert colorful language here> We were not happy. Of course, the gas and electric were on opposite ends of the fireplace
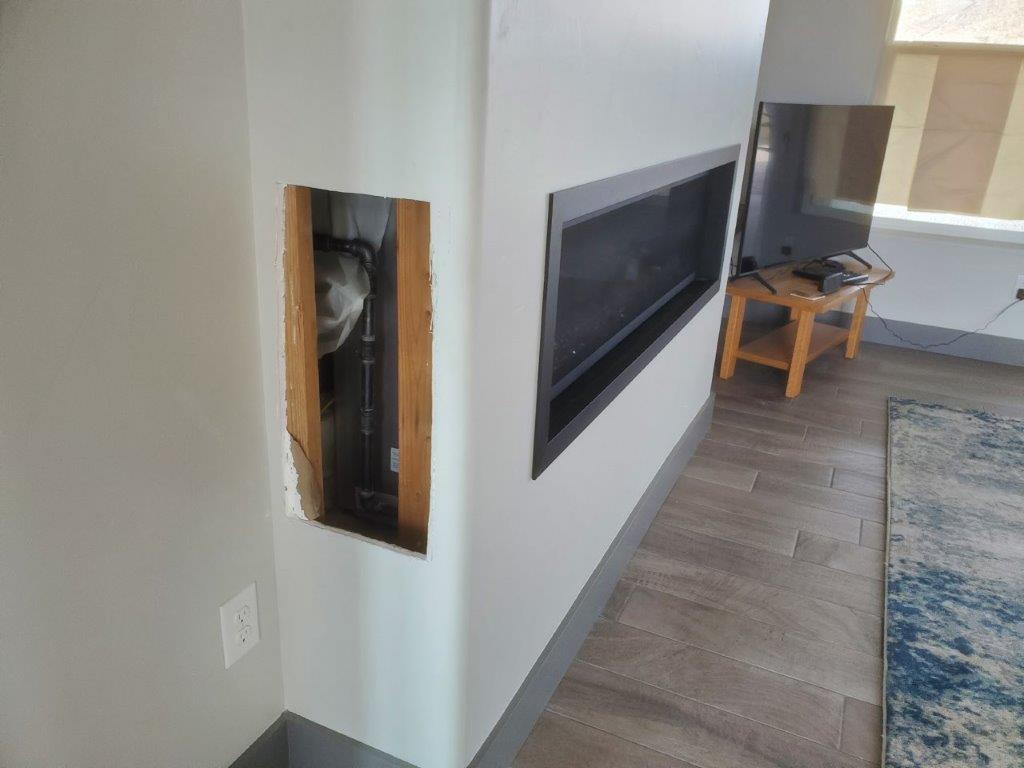
Drywall Hole #2. The plumber cut open the wall and hooked up the natural gas.
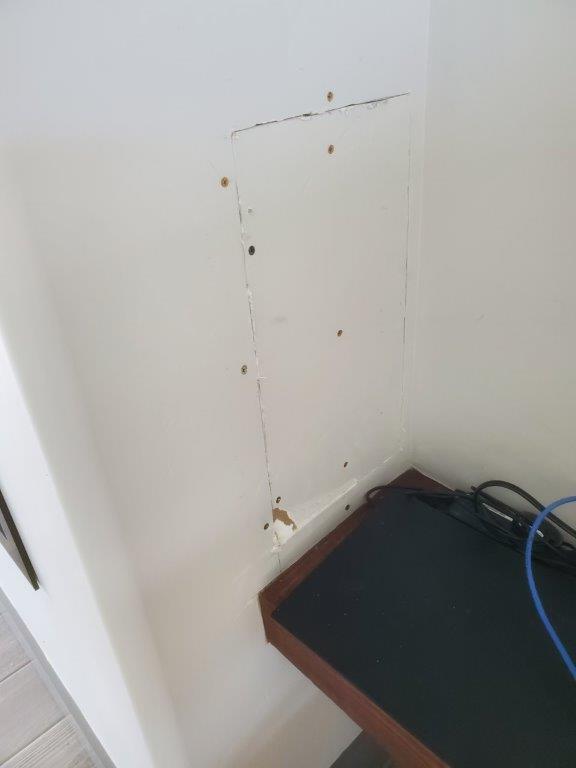
Phew, we should be all set, right?
Nope.
The fireplace installer came back out to complete the setup and discovered PLASTIC wrapped around the chimney pipe. What the heck? At this point I lost it. Are they trying to kill us? Can you say fire hazard!?!
The crew that sprayed in the foam insulation covered everything to not be sprayed with plastic, mostly windows. But this also included the fireplace.
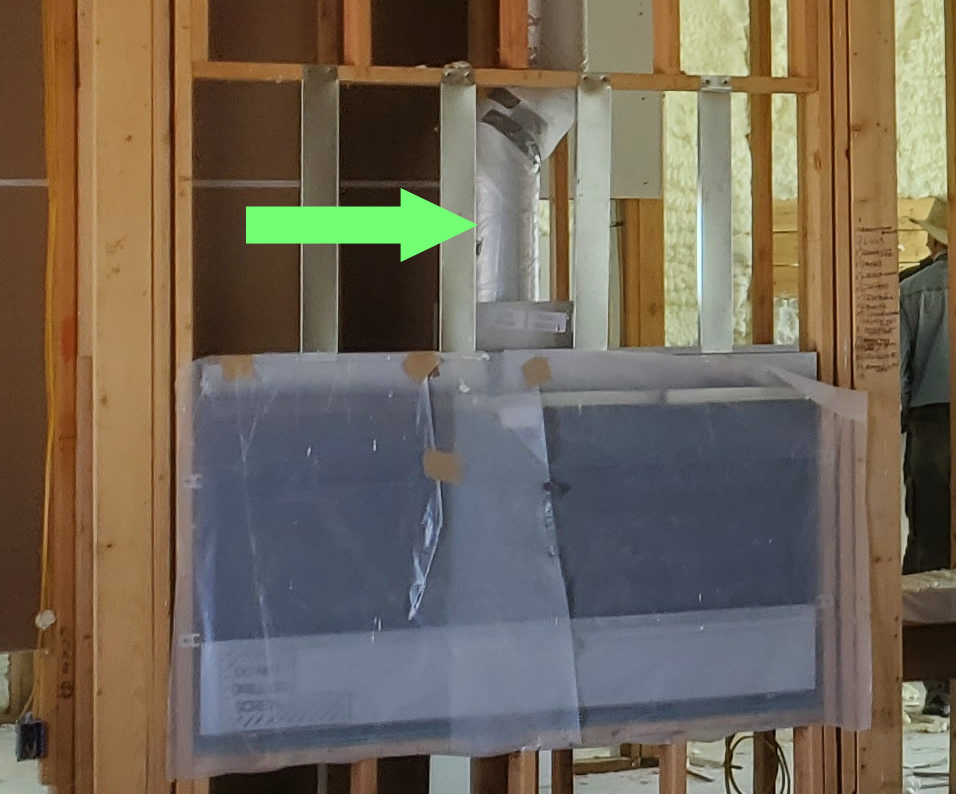
How do we get the plastic off the pipe? Want to guess?
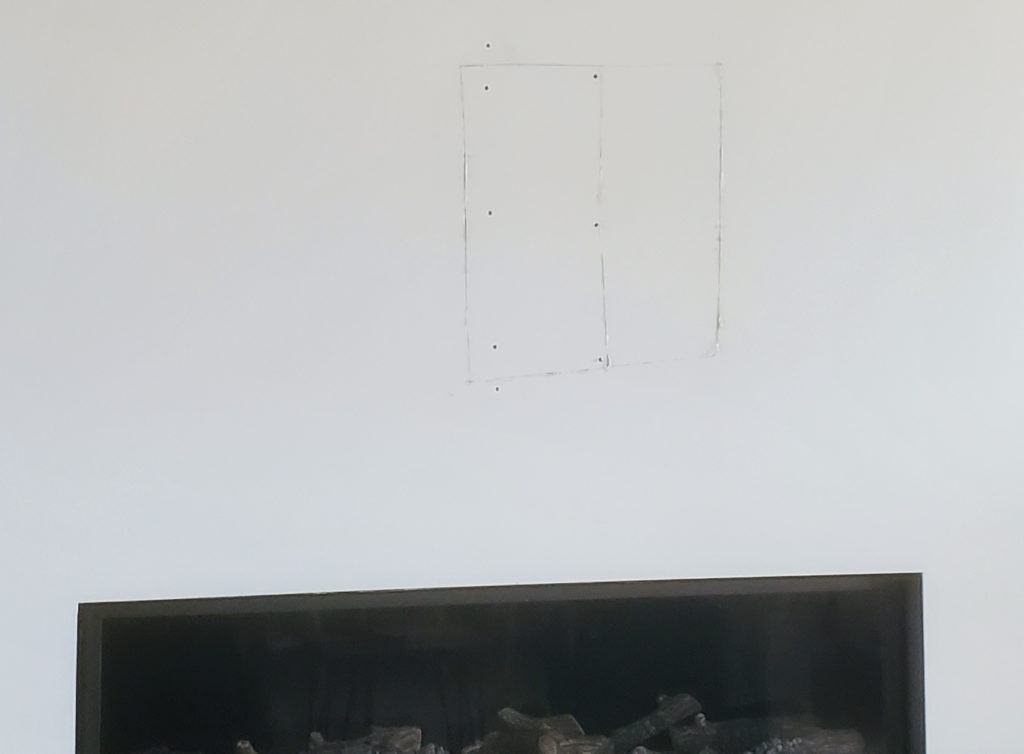
The fireplace works now. Next step is to put the stacked stone on the fireplace. Easy, right?
Nope.
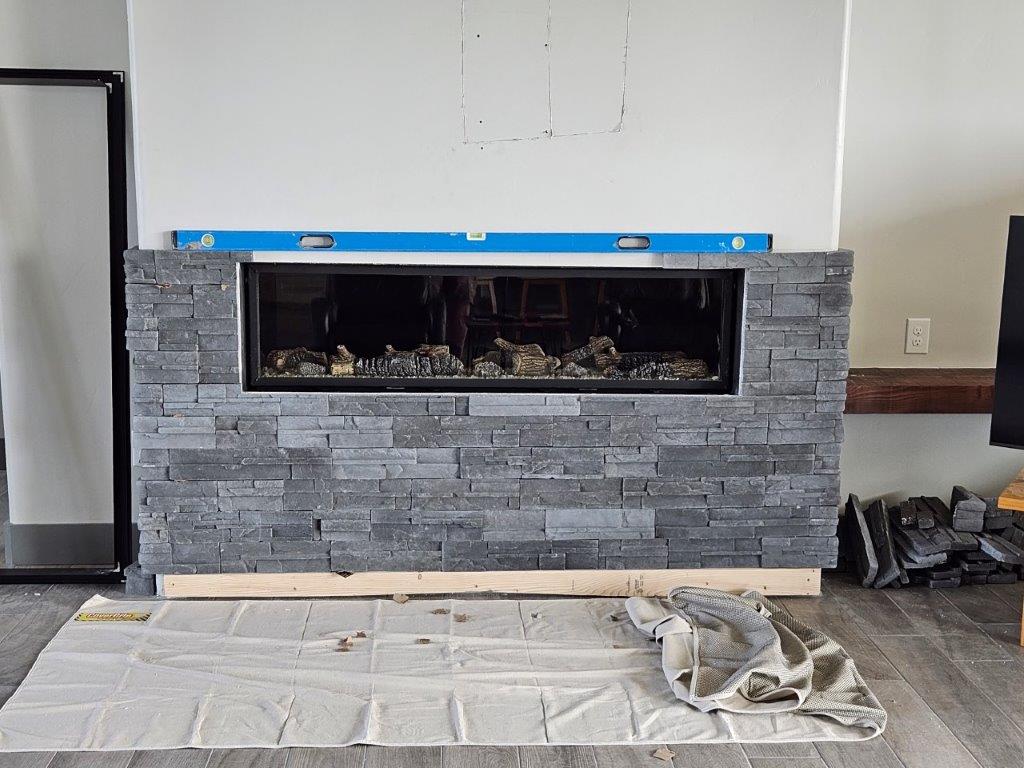
The fireplace is NOT level!!!!! We halted the stonework and got the builder over here ASAP. He agreed it’s not right. So, now the fireplace installer has to come out next week and level the fireplace. I’m sure it will result in Drywall Holes #5, 6 and 7.
So, that’s what has been happening here. Lots of frustration and the house isn’t finished. It will be, but so many of these issues should not have happened. The work crews here are all about speed. Instead of taking a few minutes to do something right they rush in, throw something up, then rush out. The result, they end up getting called back multiple times to fix their errors. Don’t you think it would be more efficient to take a minute and do it right the first time?
Along with these issues, just getting the builder to push on the crews and get them here has been frustrating and time consuming. And the “rush in/ rush out do lousy work” mentality. So the husband has been tackling many of the smaller jobs. Installing all the support brackets in the closets and pantry, putting up house numbers, adjusting door hinges, hanging light fixtures, and many other small tasks. Isn’t this what we have a general contractor for? With the house months beyond the ‘absolutely be done by date’ we figure the only way it will finish in a timely manner is knock off as many small jobs as we can.
There are other small issues, but these two were the biggies for the living area. To get the living area ready for us to move in the builder put the second floor shop area on the back burner. So that is another big task we have no idea when it will be completed. Our punch list was over 60 items. I think we are down to 40 items. It shouldn’t have to be this hard.
